The sides were made by mounting the paper templates in styrene sheets as usual and cutting the parts. Don't forget to label them to avoid future mixups.
Protip - DO NOT mount the paper using 3m spray mounting glue, you'll need acetone or lacquer thinner to remove the paper afterwards.
To cut the small circles that act as the wheel bearing protectors, I use a belt hole puncher, that has multiple sizes and cuts neatly.
The track tensioner was printed in resin and glued in place and the inner spacers were printed in FDM
Mostrar mensagens com a etiqueta macharius. Mostrar todas as mensagens
sexta-feira, 21 de agosto de 2015
Macharius Vanquisher WIP Pt1
So, in order to take a break from the Valdor, which is well under way and is only missing stowage, I've decided to start another super heavy tank so that I can make the stowage for both simultaneously, if that makes any sense (it doesn't).
The process is very similar, start by getting some templates
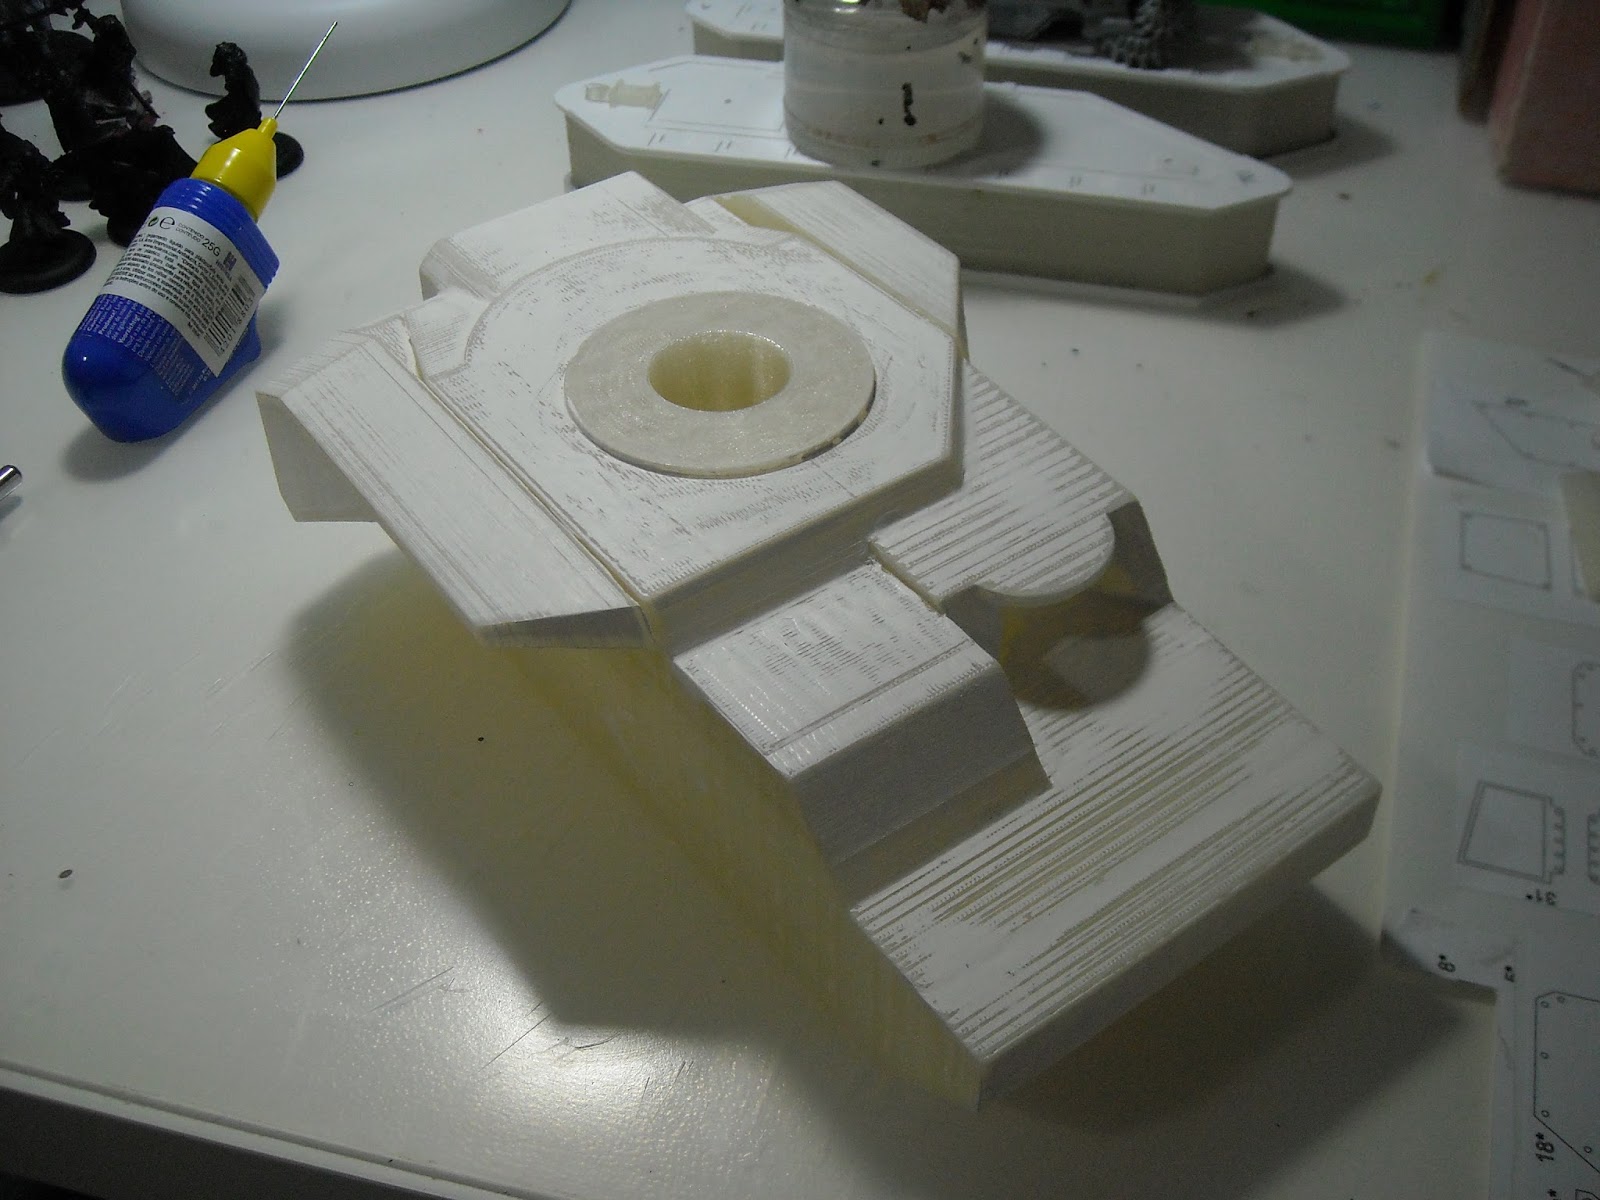
I've used these templates as the basis for the 3d modelling of the hull, sponsons and turret (basically everyhting). After 3d printing the hull and such, puttying and sanding commenced
Only the hull was puttied and sanded yet, the turret's gonna be done later. The track guards were glued into place to facilitate gap filling.
The process is very similar, start by getting some templates
![]() | |
| This is just the cover for the template PDF |
I've used these templates as the basis for the 3d modelling of the hull, sponsons and turret (basically everyhting). After 3d printing the hull and such, puttying and sanding commenced
Only the hull was puttied and sanded yet, the turret's gonna be done later. The track guards were glued into place to facilitate gap filling.
Subscrever:
Mensagens (Atom)